start your living culture at home! by and for the members of vokomokum
Vokomokum is the first food collective in Amsterdam, a fairly large group of people that self-organized to have food delivered directly from farmers and ethical producers, bypassing every need for super-markets. Vokomokum is a non-profit association and all its members devolve some work in it.
The bubbleclub is the merry group of vokomokum members taking care of fermented food starters. Lead by Debra Solomon's food expertise, the bubbleclub is producing monthly batches of starters that members can use, study, modify and share to make their own kimchi, ginger beer and soon other fermentations at home.
Bubbleclub runs a sprekuur about cultivating living products in one's own kitchen, every last friday of the month, at the Vokomokum pickup day in Amsterdam @ PlantageDock.
To make an appointment, write to
Bubble Club Sourdough bread starter Eternally perpetuating cultures for delicious, healthy breads

Hello Lovers! (of sourdough breads)
Here are some links to concise information about maintaining your Bubble Club sourdough starters and making delicious breads with them. Please take the time to read, and you will be rewarded with eternally perpetuating cultures and delicious, healthy breads.
Some general words of advice regarding whole wheat and rye bread recipes: Our goal is to produce a tasty bread with enough structural integrity to spread cold butter without 'ripping' it apart.
However, do not overdo the wholewheat or whole rye flour portions of the recipes. You will notice that the maximum amount of whole flours in these recipes is 50% (when maintaining the starter), and sometimes much less (when making bread). There is a reason for this. Your sourdough culture must be sufficiently robust to raise the bread to make a bubbly texture. This means that the bacteria and yeast in the starter culture must have 'access' to nutrition that THEY LIKE in the dough. (Access to culturally appropriate nutrition is a basic right of food sovereignty for all beings.) In this case, bacteria and yeasts are not purists, and neither should you be. Feed them what They like to eat, and let them do their holy work, which aside from metabolising gluten includes producing a healthy, digestible, long-lasting bread for you and yours. White flour is not the devil.
Letting the dough rest
To allow the dought to rest is really important for all recipes.
Allowing the dough to rise to approximately twice its volume is important. The length of time it takes to do this is less so, in my opinion. If it takes a day or more, it takes a day or more. Eventually you and your sourdough cultures will sync to allow bread making to suit your schedule.
Breads don't only need warm places to rise. The mixture of bacteria and yeast in your culture likes a bit of diversity, which could include room temperature and fridge.
In my experience, a good bread-baking rhythm for maintaining starters and producing bread, is once every week or once in two weeks. In my experience, sourdough breads can be stored at room temperature for more than a month without spoilage. Share the over-abundance of bread with friends or others if you're making too much. They'll be chuffed, you'll be chuffed. You can also halve the recipes.
Some folks call for throwing out the extra starter that you produce. I don't do this, but you CAN put this starter in the compost, or use it when planting trees as a soil bacteria builder. Some soil bacteria is going to be very happy with your gift.
Basic Info:
Information on maintaining wheat and rye sourdough cultures.
Wheat and rye cultures are different beasts. Treat them differently.
http://en.wikipedia.org/wiki/Sourdough
Sourdough pizza:
A well-researched recipe for producing a 'digestible' sourdough pizza
dough from baker Chad Robertson (Tartine) via the Lucky Peach.
http://luckypeach.com/recipes/the-digestible-pizza/
Basic whole wheat bread:
This is the current Bubble Club testing recipe for wheat sourdough.
http://cooking.nytimes.com/recipes/1016277-tartines-country-bread
Basic rye bread recipe
To follow. I'm not completely happy with the texture of the rye bread
yet. Let us know about your experience!
Enjoy maintaining and baking!
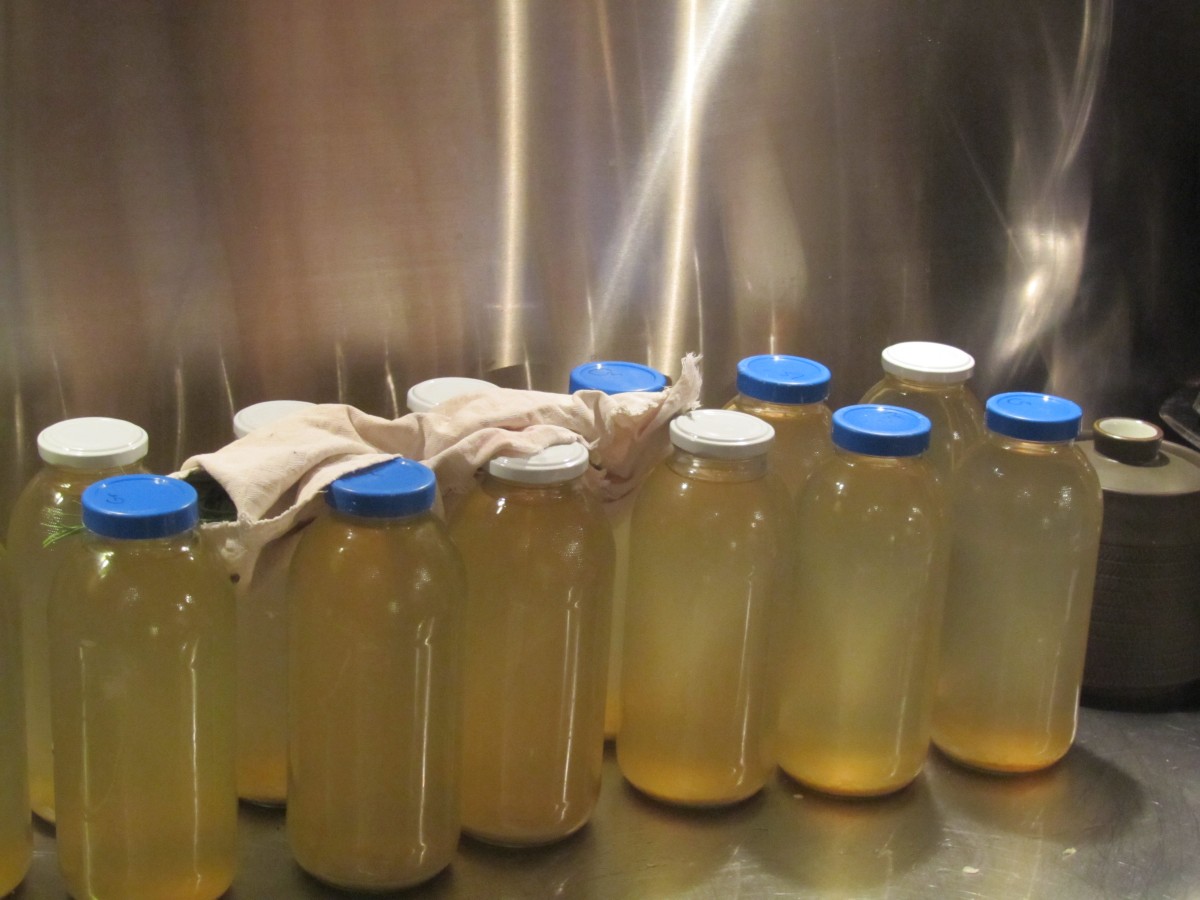
Bubble Club Ginger Beer Starter An essential ingredient for the continued existence of the human species, vatted up in jar!
Use ginger beer starter with fresh ginger, water and organic cane sugar to make a never-ending supply of bubbly ginger beer. Try to grow the starter and keep it alive forever.
A starter culture is a living colony of bacteria and yeast. You keep it alive by feeding it ginger, sugar and occasionally adding fresh water so that the solution doesn't get too sweet. Each time you make ginger beer, you use a portion of it, and each time your ginger beer is ready, you return a tablespoon of it back into the starter; a concept affectionately known as 'backslopping'. Make ginger beer regularly to keep your culture refreshed and robust.
Ingredients
Lacto-fermented to become a ginger beer starter:
- Amsterdam tap water
- ginger
- organic cane sugar
How to use your Bubble Club Ginger Beer Starter:
First grow more starter culture (~ 4 days)! Fill a ~1 litre jar with a handful of fresh ginger sliced in 0,5 cm cubes, 4-6 tbs. of raw cane sugar, and ~500 ml tap water. Mix in your Bubble Club ginger beer starter culture, stirring vigorously for a minute. Cover with cheesecloth to deter fruit flies. The next days, give the jar a goodly stirring every time you walk by.
After a few days, you should see bubbles forming. Taste the starter culture, is it starting to sour? That's what we're going for.
Make the GSW feeding solution for your ginger beer:
Ginger Sugar Water (GSW) is what you will feed your ginger beer. Using a blender, food processor or a staff-mixer, grind 25gr fresh ginger, 2-3 tbs. raw cane sugar and a dash of tap water to a paste. Your goal is to dissolve the sugar. Good luck. Place the GSW paste in a separate container; mix in enough water (app. 750 ml) so that it tastes like nicely sweet ginger water.
Now Make Ginger Beer (~ 4-10 days):
Take 1 part ginger beer starter and 3-4 parts GSW. Strain out all of the ginger material and add it back to your starter culture to rejuvenate it. In a warm part of your kitchen, mix both liquids in an open jar/bottle (e.g. milk bottle). Cover the container with cheesecloth to prevent fruit flies from colonising, but don't worry if they do, it's a losing battle. After 3-4 days this mixture should taste increasingly 'sour'.
Just before you think the ginger beer tastes sour enough, add a dash of sugar, close the container, let it stand another day, and then put it in the fridge to slow the fermentation process. Taste the chilled ginger beer. If you can discern a slight bubble on your tongue, you have succeeded in making a good ginger beer.
Bottle Warning:
Use bottles whose lids leak slightly when the contents are under pressure.
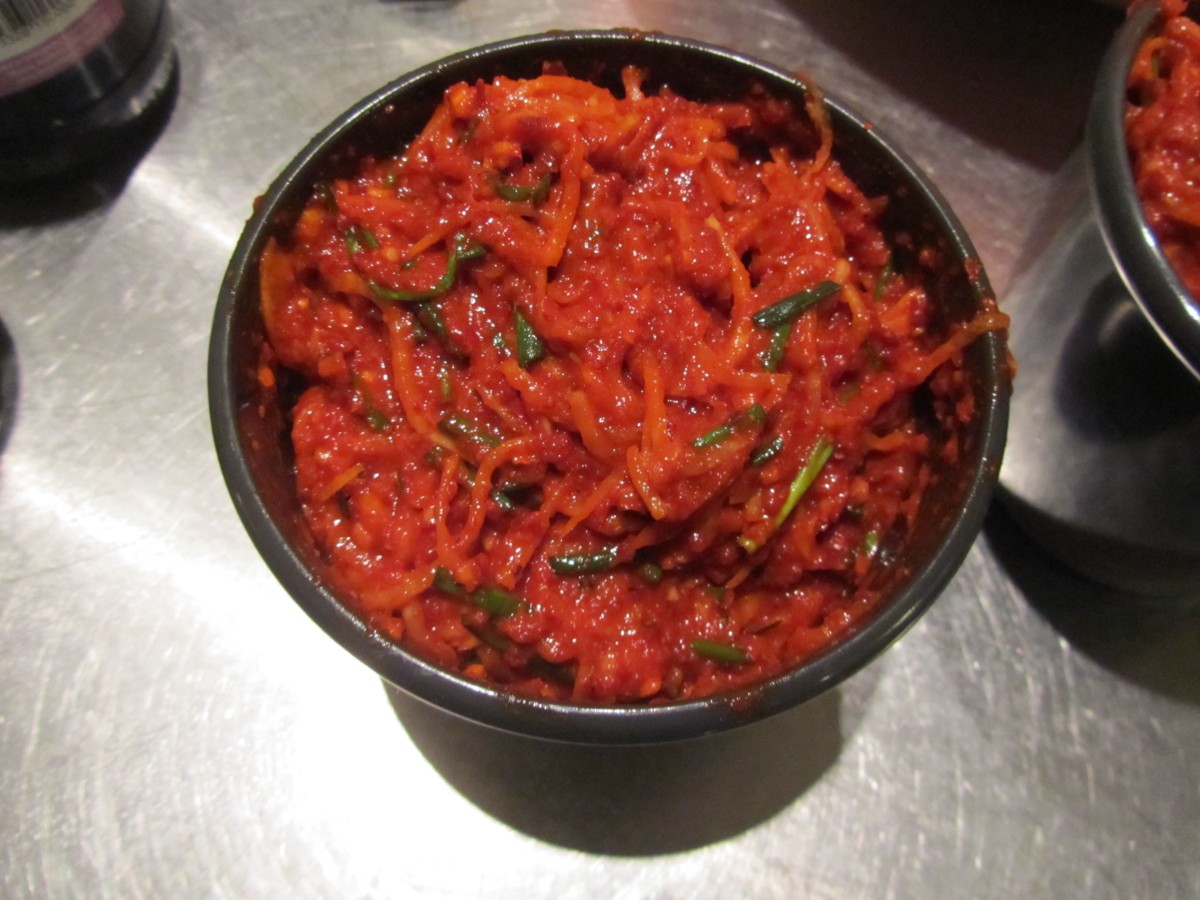
Kimchi Paste Ferment yer own dang kimchi!
Kimchi paste is spiced rice gluten porridge which when mixed with salted fresh vegetables creates the anaerobic environment required for lacto-fermentation. You use it to make kimchi!
Lacto-fermentation turns Chinese cabbage (Brassica rapa pekinensis) into ever-loving kimchi, a living food that gives your local gut biotope a resounding kick in the pants by reigning in the transformative tendencies of naturally occurring lacto-bacilli. Long live cruciferous vegetables whose inflorescence, slightly salted, smeared with kimchi paste and vatted up in jars, brings forth a nutritive force by which kimchi's fresh brothers pale anaemic in comparison.
Ingredients (refrigerated)
- water
- rice gluten flour
- raw cane sugar
- chilli pepper flakes
- raw onions
- garlic
- shredded daikon
- green onions
How to use your Bubble Club Kimchi paste
Although traditionally kimchi is made out of many different vegetables, this is a recipe for basic (Chinese cabbage) kimchi. Once you feel confident, you can add diversity to your pallet by making kimchi with radishes, daikon, and cauliflower.
Prepare vegetables for fermentation
Cut one cabbage lengthwise, rinse in cold water and cut these halves in three chunks. Place the cabbage in a large bowl and sprinkle with approximately one tablespoon of salt. Mix together with your fingers and set aside for an hour or so. Occasionally fluffing-up the mixture might make you feel useful but is entirely unnecessary for the process.
Important: the salt's job is to kill harmful bacteria so that the lacto-bacilli can reign victorious in the dog-eat-dog world of fermentation. (Lacto-bacilli's presence prevents harmful bacteria from flourishing.) To know how much salt to use, a good rule of thumb is that when salted, the veg should taste delicious. Always. If you still find the cabbage too salty, simply rinse off the excess salt.
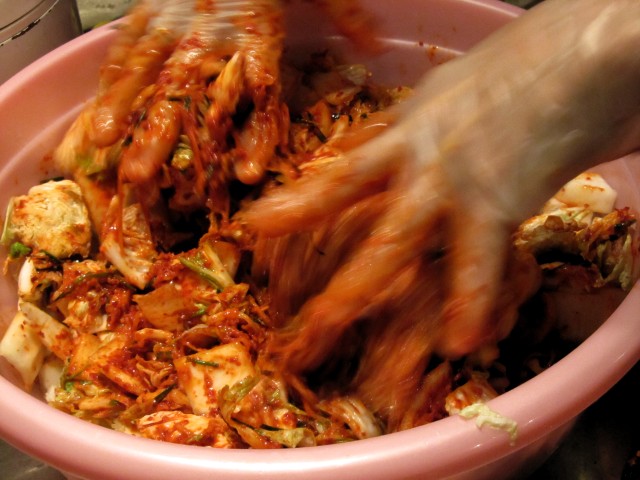
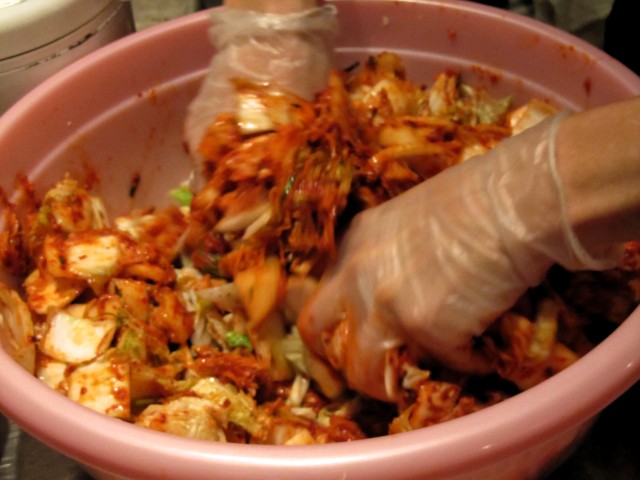
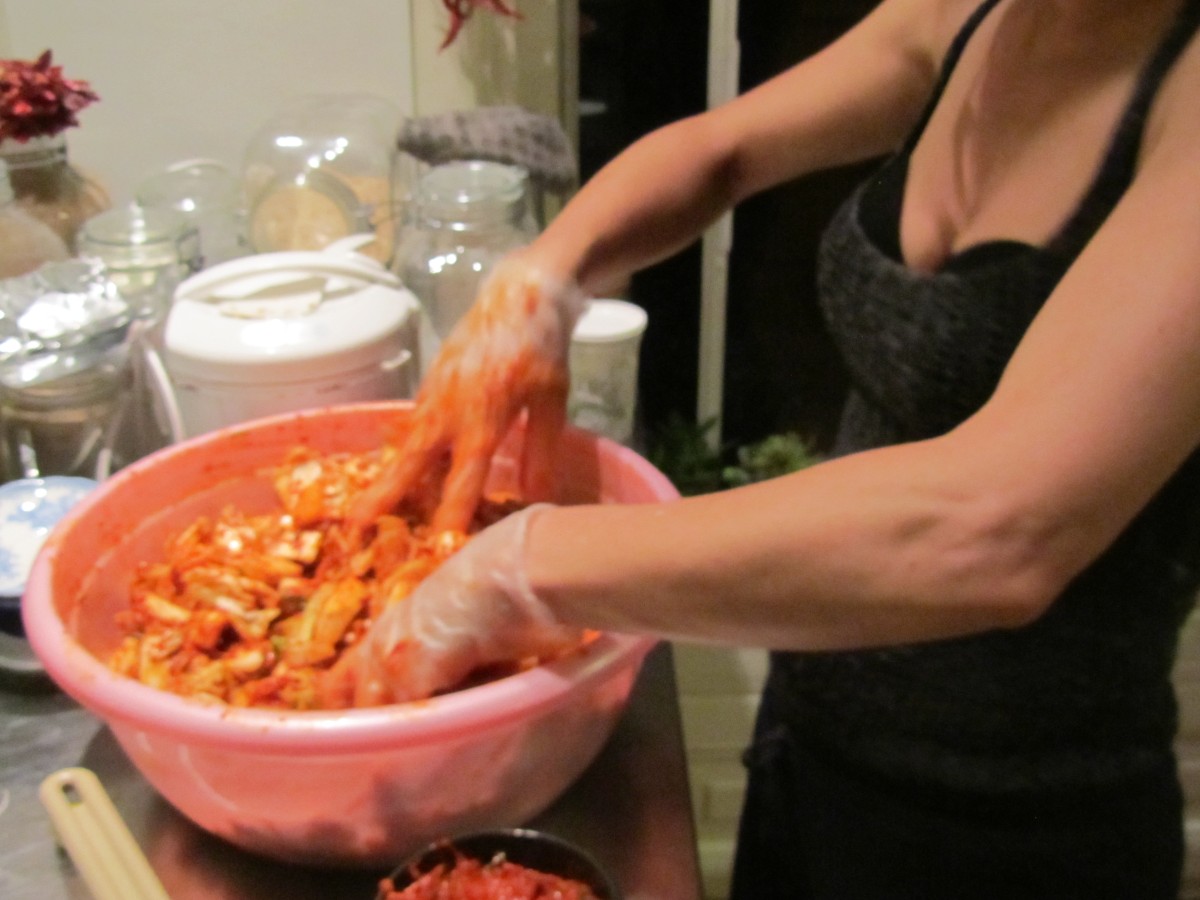
Add kimchi paste to raw, salted vegetables, mix it up
Wearing rubber gloves (!) massage ~three or four tablespoons of kimchi paste into the salted cabbage. When the ingredients are thoroughly mixed, stuff the kimchi into a wide-mouthed jar such that the emerging 'sauce' covers the veg. Cap the jar with a lid that can leak. Tip: don't pack jars of kimchi too tightly or they might explode. Leave 'headspace' and place the kimchi where you can observe it.
Set aside and do not disturb
After some days, bubbles will appear when you uncap the jar. Taste it. If the kimchi is still too 'sweet', keep fermenting it until it is ready. This is purely a matter of taste. When the kimchi is sufficiently soured, stop the fermentation process by placing the jar in the fridge.
Mission accomplished
Though best eaten fresh, refrigerated kimchi can last for years. You can eat it raw, or when it is more mature, use it as a base for soups, pancakes, marinades, and dressings. Two words: Bloody Mary.
L'chaim!
The Bubbleclub crew Keep your cultures alive and share them!
- Debra :: food fermentation expert
- Daniela :: video director
- Marlus :: kimchi paste princess
- Jaromil :: senior cheese cutter
- Merel :: conceptual terrorist
- Jacques :: academic
- Ana Leonora :: support and setup
Contact us at